Master Your Smart Home: The Ultimate Cable and Device Labeling Guide
Introduction
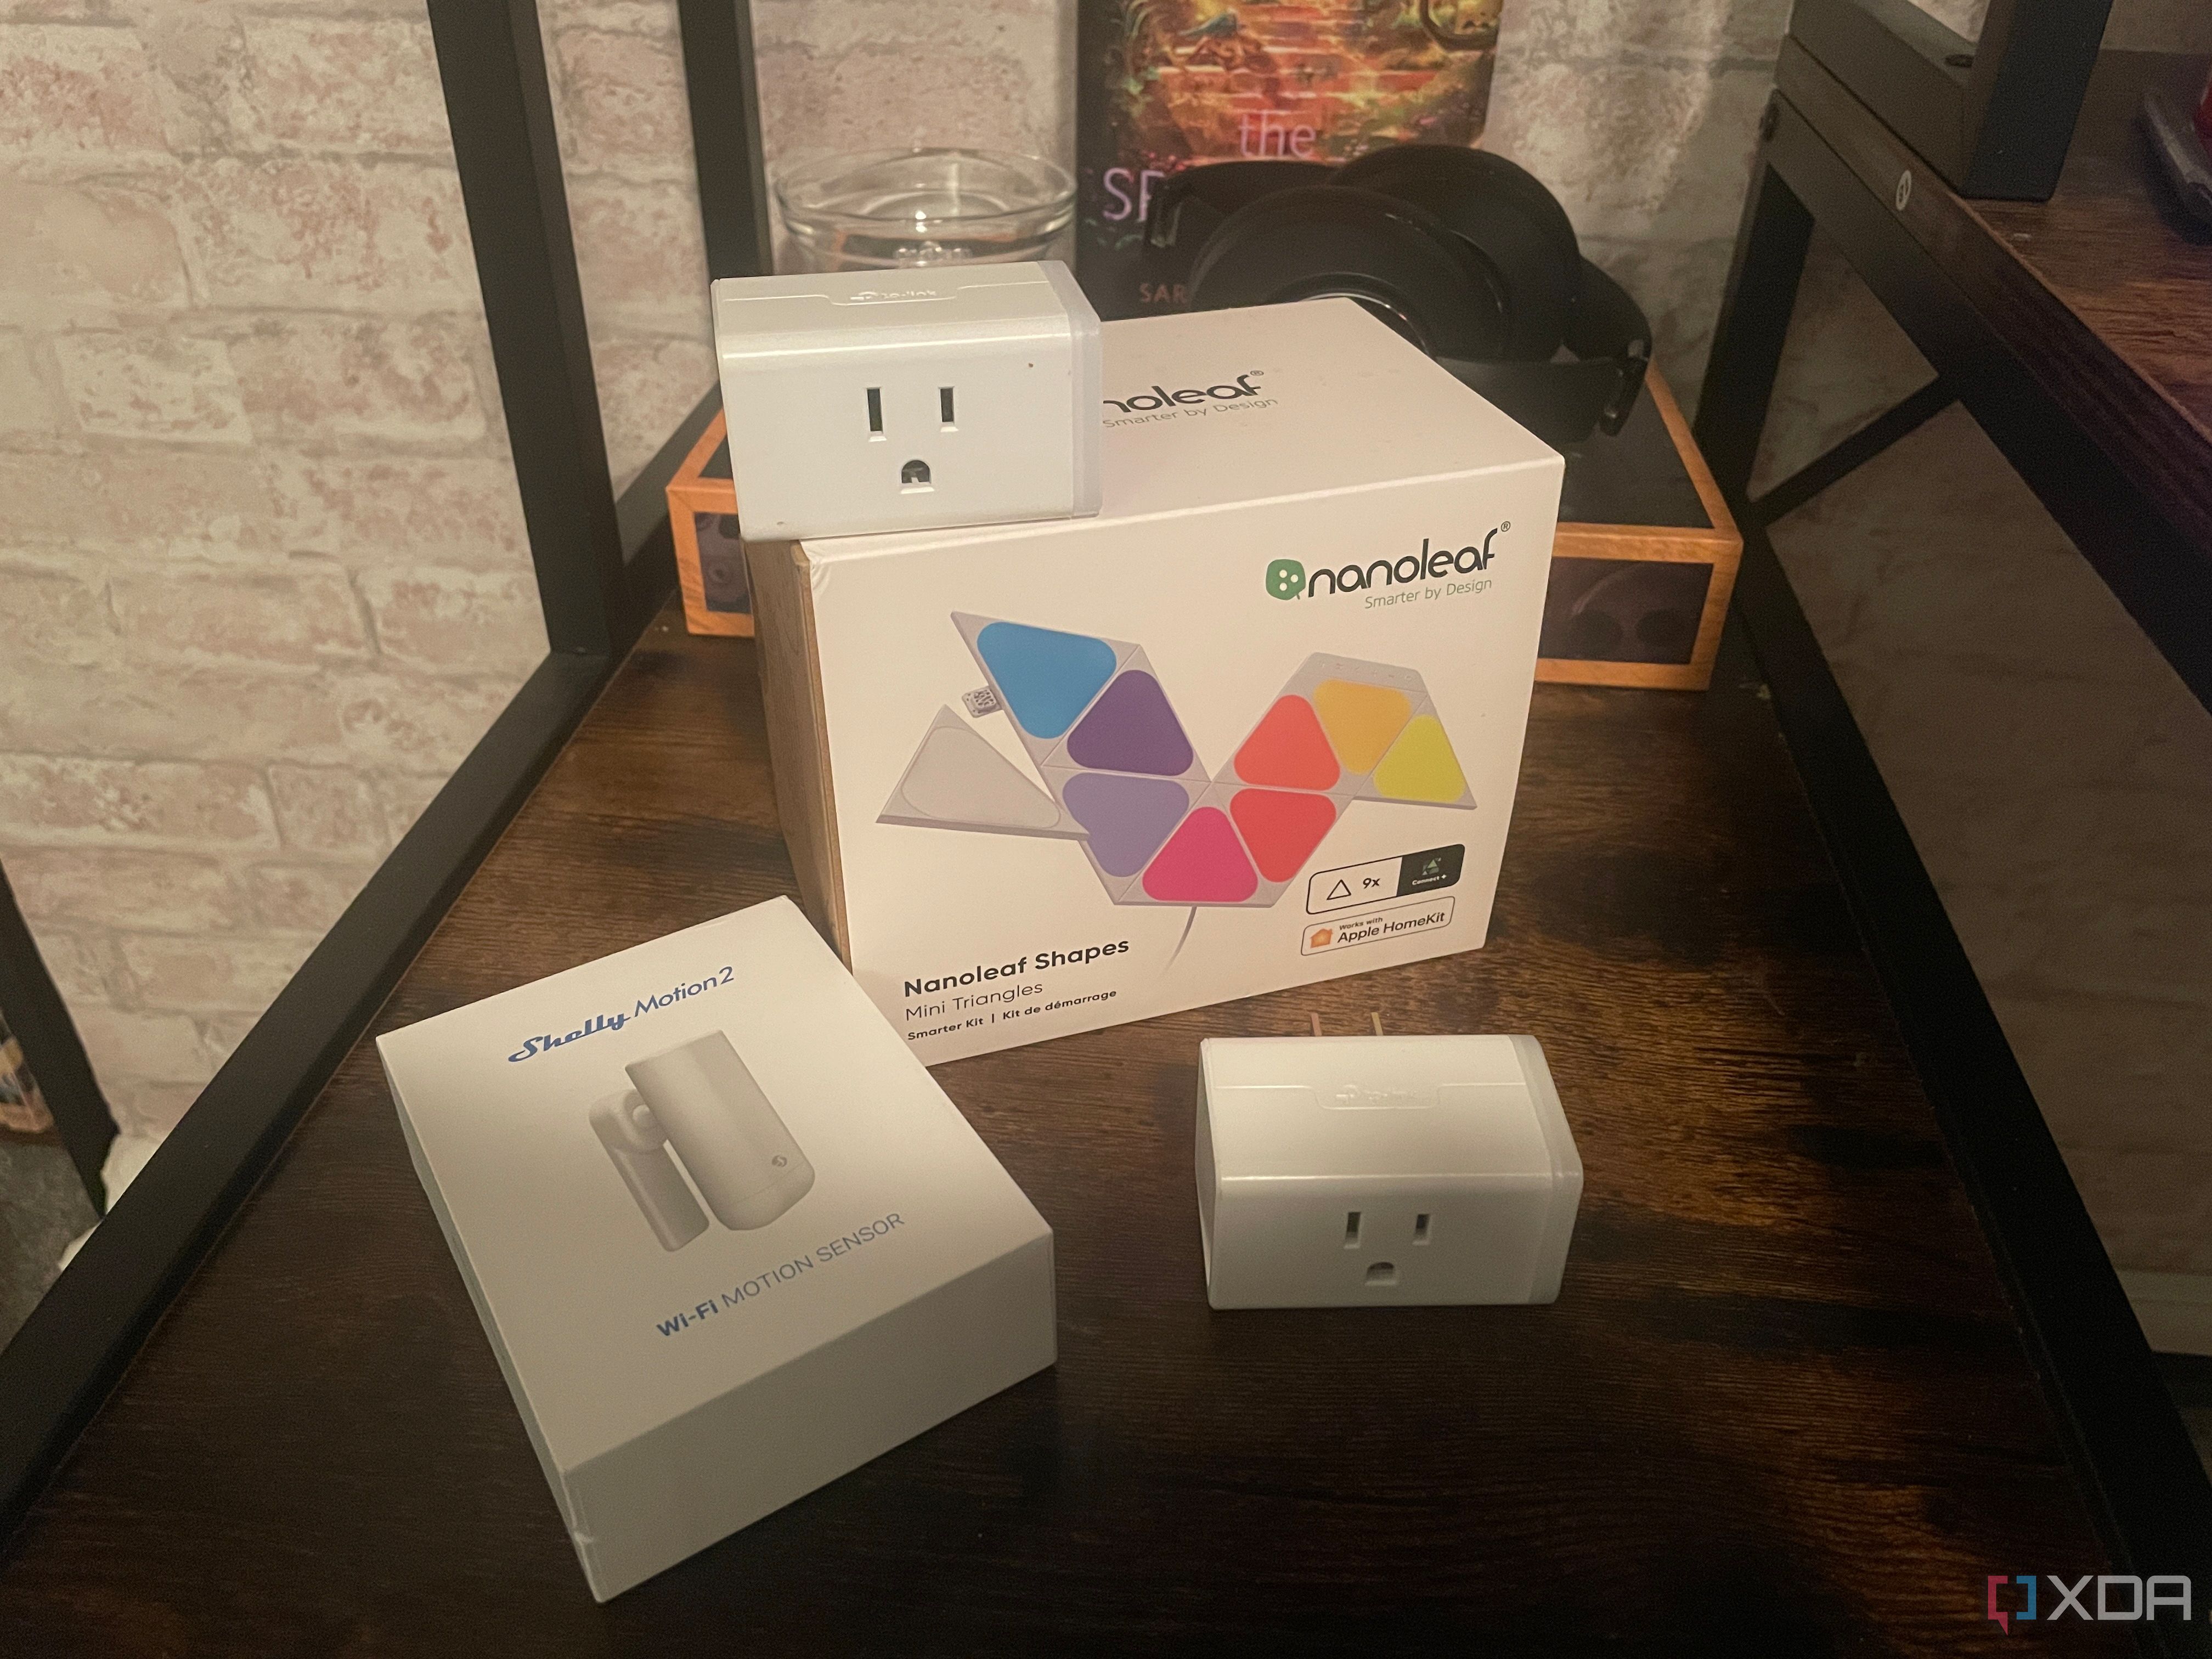
It finally happens: a smart plug goes offline, and you're not sure which one. You open your router dashboard and you're greeted by a list of devices with names like ESP_88bc, Android_4f91, and three separate entries that just say Amazon Echo. You know one of those plugs controls the lamp in the office, but which IP address belongs to which physical device is anybody's guess. What should take two minutes turns into twenty, and you haven't even touched a cable yet. Your gear can be the smartest, your setup can be the sickest, but it's only as organized as you make it. Taking the time to label things both physically and digitally saves so much grief later on, and it should be the first thing you do when you first set up your smart home. This guide will walk you through a systematic approach to labeling every cable and device, turning chaos into clarity.
What You Need
- Label maker or printable labels – a dedicated label maker like a Brother P-Touch or Dymo, or pre-cut cable labels (e.g., Brady labels)
- Permanent markers – fine-tip Sharpies for temporary or backup labeling
- Clear heat-shrink tubing – for a professional, durable finish on cables (optional)
- Zip ties or Velcro straps – to bundle and secure cables after labeling
- Router/network access – to check device name assignments in your router's admin panel or home automation app
- Pen and paper or a notes app – for recording device names, IPs, and locations
Step-by-Step Labeling Process
Step 1: Inventory Your Gear
Before you start labeling, take stock of every device and cable in your smart home. Walk around and note the location of each: the smart plug in the living room, the sensor on the front door, the hub under the TV. Write down the current name (if any) from the app or router dashboard. For example, a device might show up as ESP_88bc but it's actually your hallway motion sensor. This list becomes your master reference.
Step 2: Assign Meaningful Names Digitally
Open your router's admin interface (or your smart home hub app) and rename each device. Use a consistent naming convention like Location-Device or Room-Function. For example: LivingRoom_Lamp, FrontDoor_Camera, Office_DeskPlug. Avoid vague terms like Sensor – be specific. If your router allows, set static IP addresses for key devices to avoid confusion later. Update the names in every ecosystem (Alexa, Google Home, Apple Home) to keep them aligned.
Step 3: Create Physical Labels for Each Device
Print or write labels for each physical device. Place them on a visible, non-removable part (e.g., the back of a smart plug, the side of a hub, the bottom of a sensor). Use a label maker for best readability, but a fine-tip permanent marker works in a pinch. Include the same name you used digitally – or a short code that maps to your list. For cables, wrap labels close to the connector so you can identify them when unplugged. Use clear heat-shrink tubing over paper labels for extra protection if the cables are handled often.
Step 4: Label the Cables Too
Don't forget the cables that connect everything. Power cords, Ethernet cables, USB cables – label both ends with a consistent identifier. For example, Router-Power on the power brick end and Router-Wall on the plug end. Use color-coded rings or flag labels if you have many similar cables. Bundle grouped cables with zip ties or Velcro straps, and attach a master label to the bundle (e.g., TV Area). This saves hours when troubleshooting.
Step 5: Update Your Router's Device List
After renaming devices digitally and physically, double-check that the names match. In your router's DHCP client list, edit the hostname for each device to the same name you put on the label. Some routers allow you to manually set a device nickname that appears in the client list – use that. If you have a dedicated smart home controller (like Hubitat or Home Assistant), update the device names there to mirror your physical labels. Consistency is key.

Source: www.xda-developers.com Step 6: Create a Master Location Map
Draw a simple floor plan or write a list mapping each labeled device to its location. For example: Kitchen: smart switch (lights), motion sensor, smart plug (coffee maker). Keep this document digital (a shared note) or print it and store it near your router. This map helps anyone (or you, months later) quickly find a device when it goes offline.
Step 7: Test and Validate
Once everything is labeled, perform a test. Unplug a device and see if you can identify it by looking at the label. Check your router dashboard – does the offline entry match the label? Try swapping two cables that look identical – can you quickly tell which is which? If not, adjust your labels or add more detail. This step confirms your system works under stress.
Step 8: Maintain and Update
Labeling isn't a one-time task. When you add a new device, label it immediately before connecting. If you move a device, update both the physical label and the digital name. Every six months, review your master location map and router list for discrepancies. Replace faded labels or damaged heat-shrink tubing. Staying disciplined means you'll never waste 20 minutes hunting for a device again.
Tips for Long-Term Success
- Use a consistent naming convention across all platforms. If you name a device Office_Lamp in your router, use the same in Alexa and Google Home. This avoids confusion.
- Invest in a label maker that prints small, durable labels. The Brother P-Touch with laminated tape is a popular choice – the labels resist smudging and fading.
- Consider color-coding by function. Use green labels for power cables, blue for data, yellow for video. This visual shortcut speeds up identification.
- Document your static IP reservations. If you set static IPs, note them on your master map. This is crucial for port forwarding or remote access.
- Label your router itself. Write the network name and password on a label stuck to the router – it saves time when guests ask.
- Start small. If your whole smart home is overwhelming, label one room first. Then expand. The habit will build momentum.
- Review when you add major new gear. After installing a new hub or security system, refresh all labels to keep them accurate.